March 5, 2017 Log No. 798
Do-It-Myself: Light Fixture Upgrade
New year, new light fixtures! Or so I thought. I bought new fixtures for the apartment, but the dining room one seemed a little bit…plain. I’d never really considered myself a DIY kinda person before (at least, not for real life things…) but I thought there was a chance I could do something to spruce them up. Here is the journey:
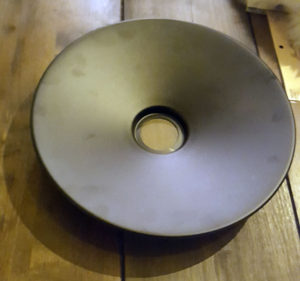
The Situation
Ugh, it just looks so boring and matte. I knew the matte black had to go, but I wasn’t sure what direction I wanted to take it in–a uniform silver spraypaint job? Brass color instead to match the hardware on the rest of the fixture, despite having minimal brass in the rest of the apartment? Copper-colored even? But even then it may look very flat and gaudily metallic.
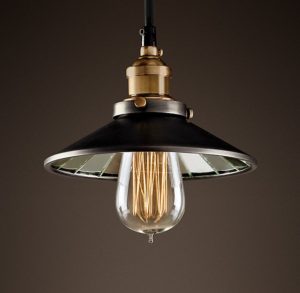
My favorite rendition of the “open-disc” type shade has been Restoration Hardware’s “reflector” style:
And at first I thought, “Well of course I can’t cut glass and do that, that’s ridiculous. But maybe I can try to swap out the shades?” I fiddled with that idea for a while but it seemed silly to buy 3 expensive RH shades without knowing if they worked, plus they’re a bit too small. Then I looked around Amazon for a bit and found that mirrored sheets are 1) very easily cut and 2) pretty cheap. An idea was born!
The Materials
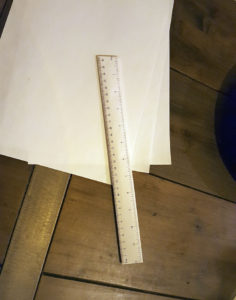
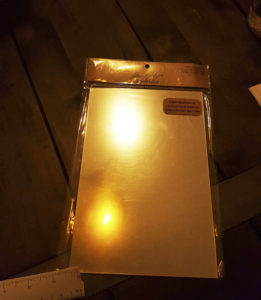
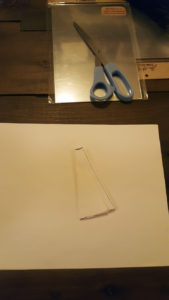
Heh yeah I had to print out a ruler; couldn’t find one in a store on the day I wanted to do the project. For the reflector sections, I went with Tim Holtz Idea-ology TH93029 Mirrored Sheets (Amazon).
The Planning
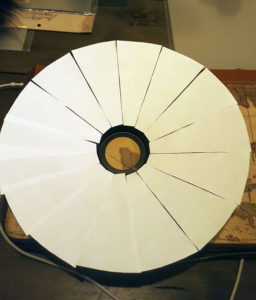
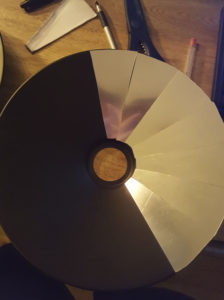
Using my questionable ruler, I made a paper template and laid it out on the disc, to try to get an idea of how it looked. Some sections overlapped a bit (human error as I cut some sections too big), but I figured that wasn’t a show-stopper.
The Work Begins
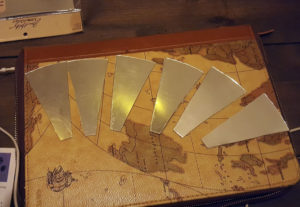
It looked better with the mirrors than the paper, that’s for sure. Not exactly RH quality but good enough, and way better than the empty flat black-ness.
The mirror sheets look kinda dull here because they have a plastic layer that you’re supposed to peel off to expose the real reflective surface, but I left it on because otherwise I felt that much shiny may look (more) cheap.
The Result
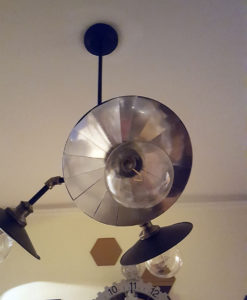
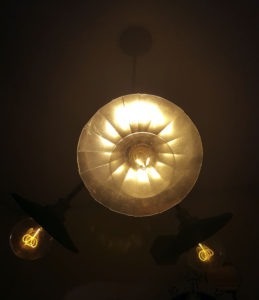
Pretty happy with the results! It’s not perfect but about 95% satisfaction with what I envisioned, and looks better than a homogeneous metallic spraypaint job.
…And now that it’s been a couple months after I set this up, I will say the only long-term issues I’ve experienced is that the adhesive that came on the mirrored sheets was too weak to hold some of the sheets up. (Basically, if the sheet wasn’t 100% flat to the surface, it would fall off, which affected some of the overlapping sections.) I tried a variety of additional adhesives, from double-sided tape (too weak) to Gorilla Glue (worked when I got a good bond, but actually had a chemical reaction with the mirrored sheets and left a weird “burn” that could be seen on the front!). In the end, good ol’ Elmer’s did the best job, after I let it sit for several days with some binder clip clamps. And they have stayed in place to this day.
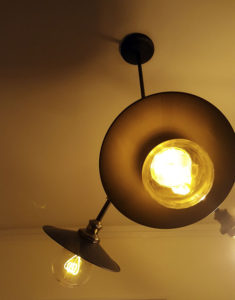
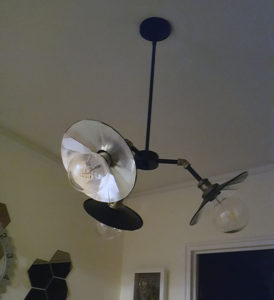
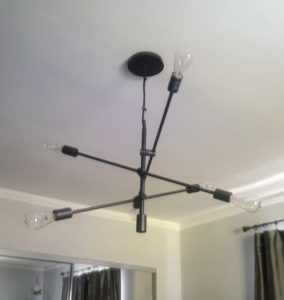
Bonus pic: Caved and got this West Elm “chandelier” (though that really seems like too grand a word) for the bedroom:
And we actually installed it ourselves! Somebody get us a Lifetime Achievement award. For me it was a “proof of concept” undertaking. Now I can say that “yeah, you know, I do actually know what a ground wire looks like. How neat is that?” That’s pretty neat.
